Step 1: Using at least 5 lbs of clay throw a bowl with a large base. Clay shrinks by about 12% so I try to make my base about an inch wider than I want the finished product to be. The walls should be at least 3 inches high. I prefer the sink to be on the thicker side than the average bowl. It's not designed to move around and should be sturdy. Also think at this point about drainage. Water needs to move the the lowest point in the bowl.
Step 2: Using 1/2 lbs of clay throw a tall narrow cylinder that is between 3 and 5 inches tall and less than 2 inches wide. If the cylinder is too tall you can get into a situation were the drain runs into the overflow tube. This can be remedied with thicker wood. If it's less than 3 inches it might not extend enough below the wood.


Step 3: After the cay is leather hard, turn the cylinder over for trimming. Round the bottom it is now the top of the drain.
 Step 4: Shape the cylinder and create drain holes. The holes need to be large enough not to be easily plugged by glaze. I learned this the hard way. With some glazes this is not an issue but with others it is.
Step 5: Turn the bowl over for trimming. Cut a hole in the bottom of the bowl for the drain.
 Step 6: Join the drain and bowl together by slipping and scoring. The drain holes need to be at the bottom of the bowl. If they are above you will be left with standing water. It might be necessary at this point to continue to shape the drain a the base of the bowl to insure they water drains to the middle.
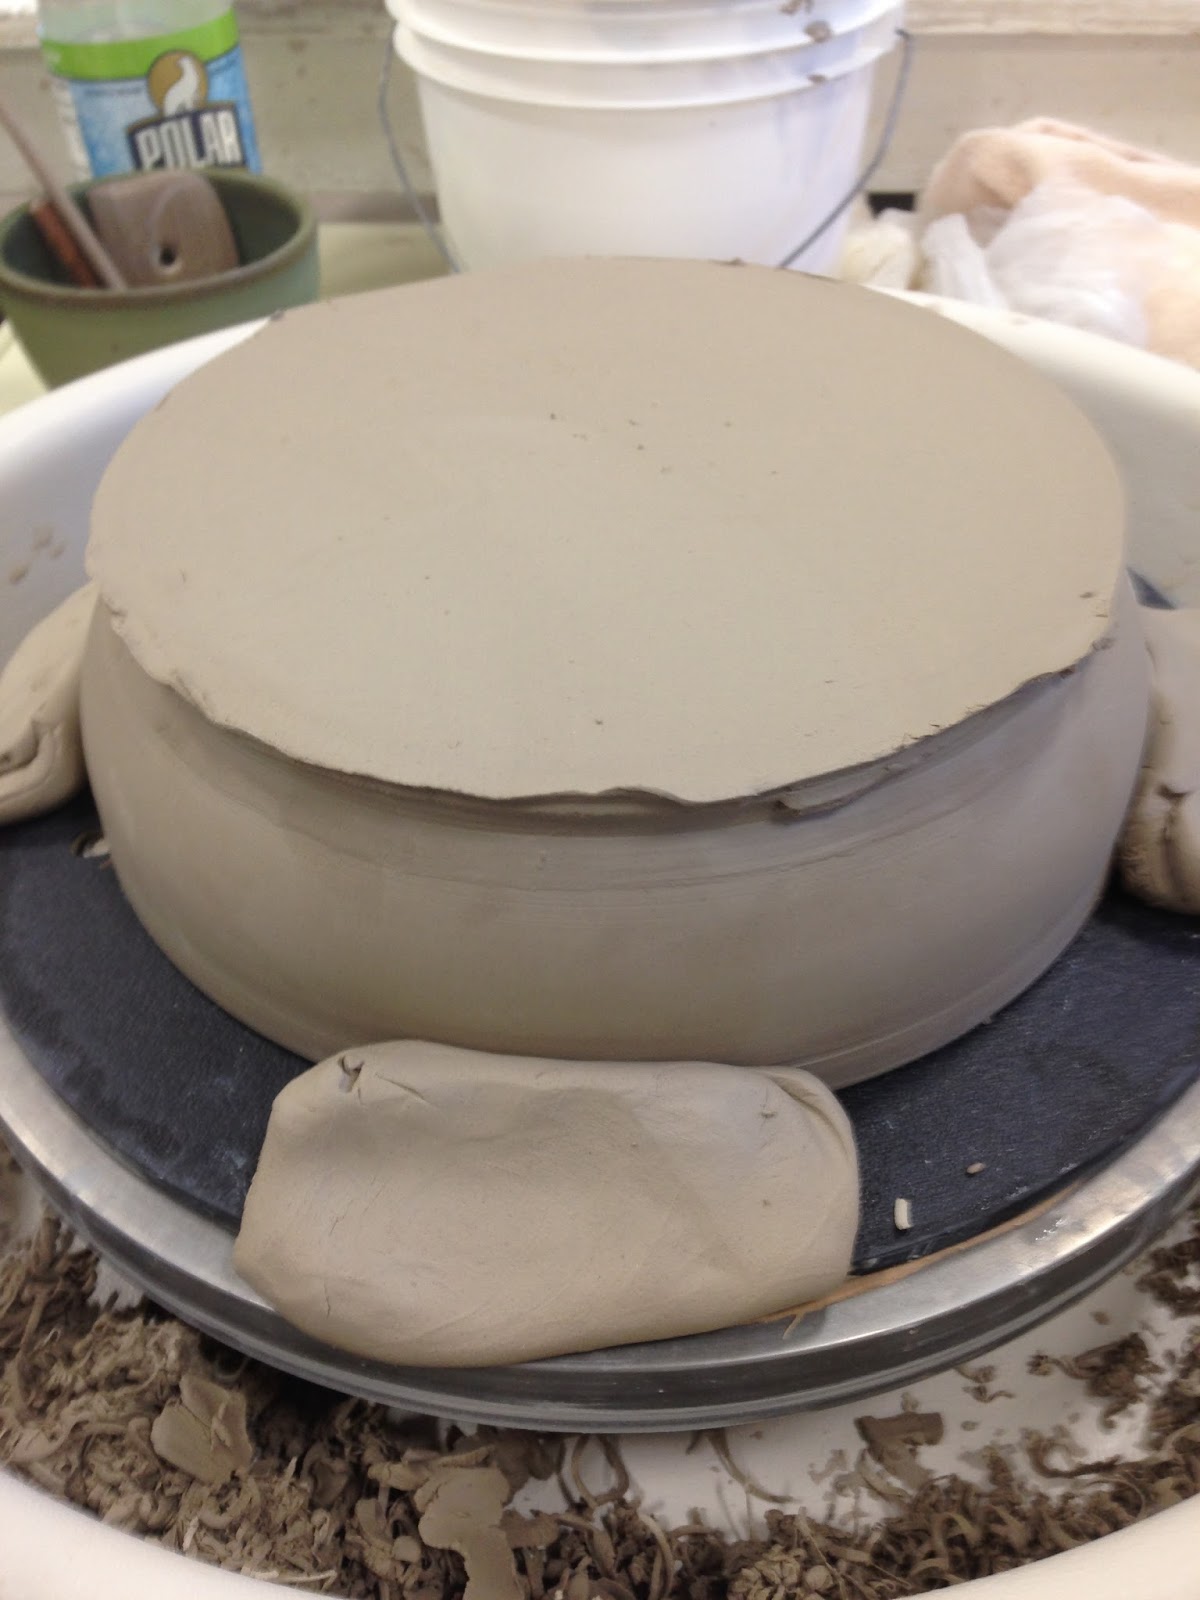
  Step 7: Create three or four supports out of clay. This keep the top heavy sink from falling over in the kiln.
 Step 8: Fire.
Step 9: Wax the bottom of the sink and glaze.
Step 10: Fire.
Step 11: Ready for installation. See Installation.
No comments:
Post a Comment